Runners Knee!
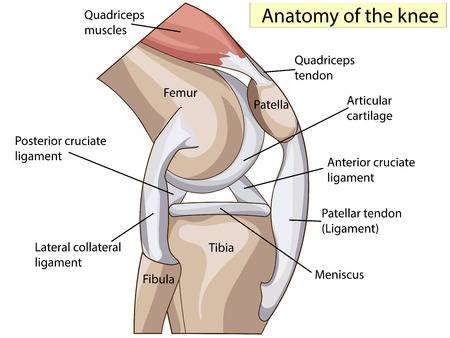
Our knees are complex hinge joints, designed to provide stability from side to side and smooth movement forwards and back as you walk, kick and run. The patella, or kneecap, is a small bone embedded in the tendon of the quadriceps muscle that protects the knee and also provides extra leverage to the quadriceps, amplifying their strength. The patella moves up and down in a groove at the front of the knee as the knee bends and straightens. Usually this movement is smooth, with little friction, however, if something causes the patella to move in a dysfunctional way, the soft tissue between the kneecap and the knee can become irritated, causing pain in a typical pattern. This condition is often referred to as ‘runner’s knee’ or patellofemoral pain syndrome (PFPS).
What causes it?
The patella usually sits in a balanced position in the shallow groove at the front of the knee and moves easily without friction. The patella is attached to the quadriceps muscle at the top and connected to the lower leg via the patella tendon at the bottom. When the quadriceps contracts, this pulls on the patella and acts to straighten the knee. If one side of the quadriceps is stronger or tighter than the other, it can cause the kneecap to pull to one side and over time become irritated.
There can be many factors that cause knee cap pain:
- muscle imbalance or weakness
- Training Load
- Poor mechanics
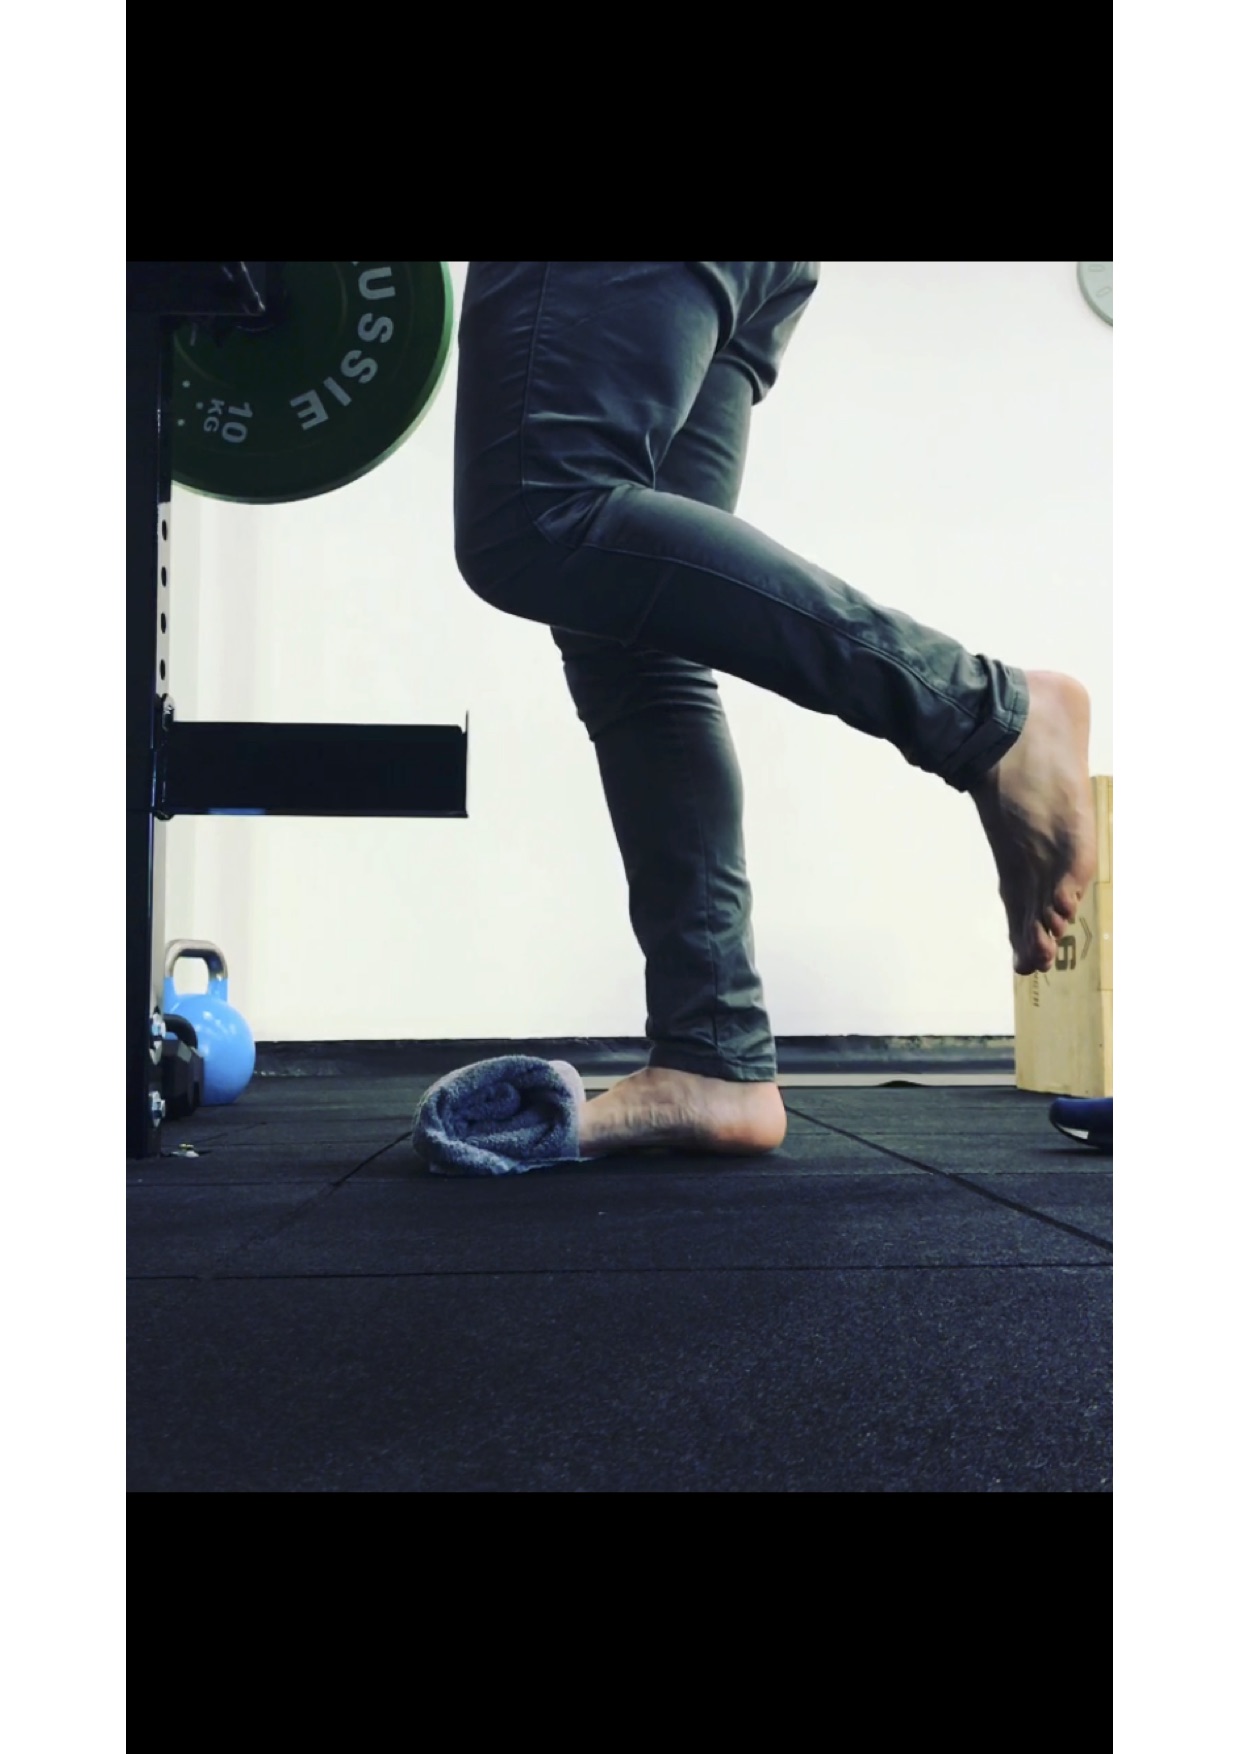
- Quadricep tightness
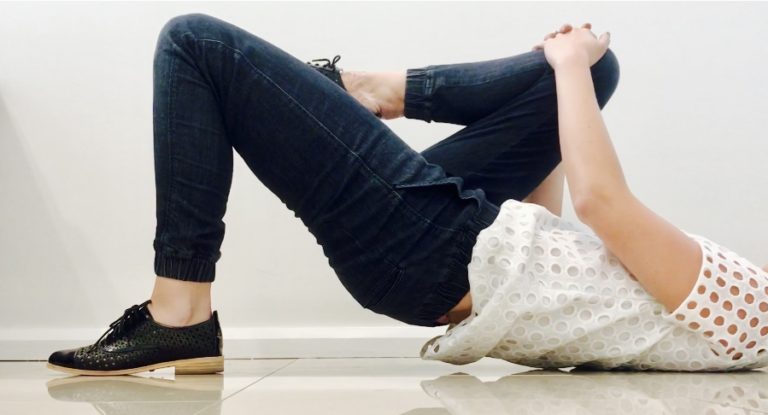
- Hip and thigh muscular weakness
- Footwear
- Type of training eg. running hills or stair work
What causes it?
This condition is characterised by pain felt on the inside or behind of the patella with activities that require repetitive bending of the knee. There may be a sensation of crepitus, clicking or grinding. The pain is commonly felt when running, going up and down stairs or when doing squats and is relieved with rest. The pain may start as a small niggle and gradually become worse over time.
How can Physio help?
The first step in effective treatment is to exclude any other conditions and have a physiotherapist confirm the diagnosis. Your physiotherapist is able to determine which factors are contributing to this condition, which could include flexibility, muscle imbalance or poor movement technique.
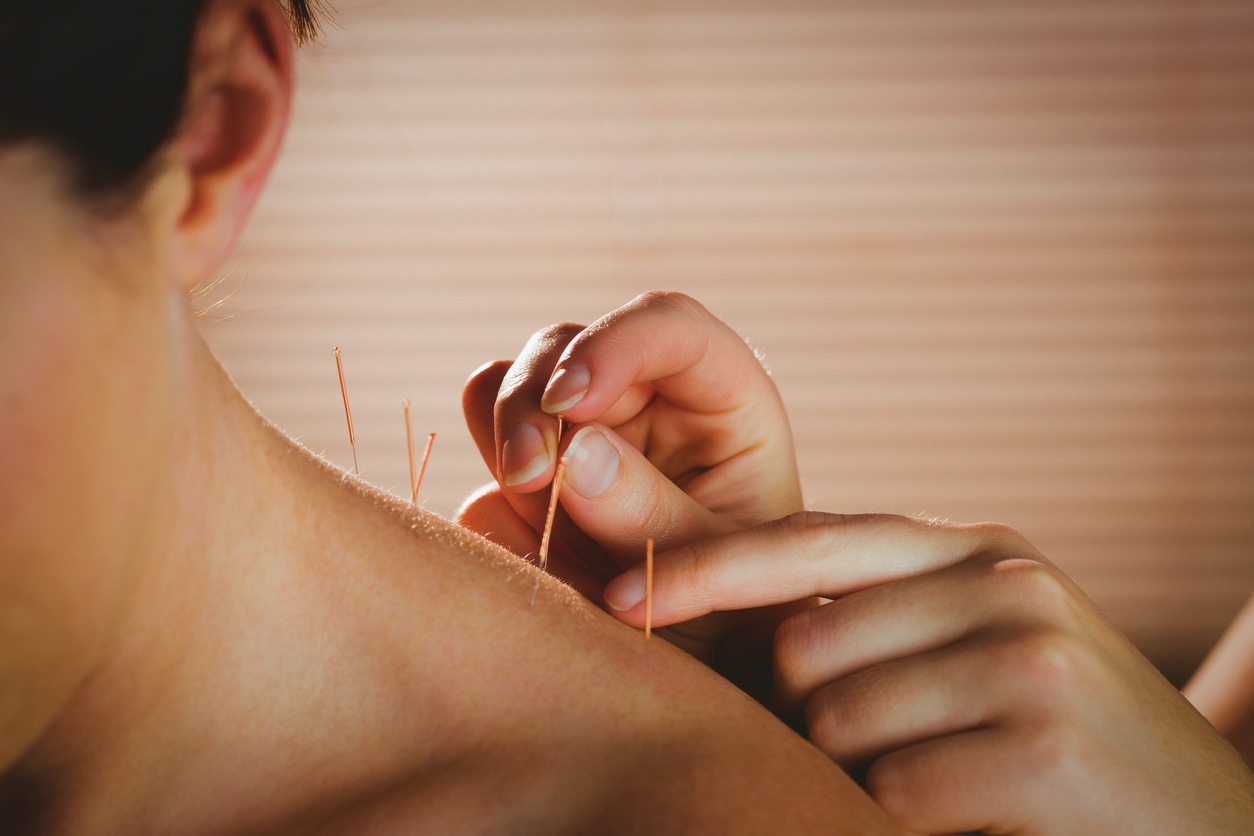
Once these factors have been identified, you will be provided with a specific treatment program to best approach your condition. PFP syndrome usually responds quite well to biomechanical assessment and correction of any muscular weakness and imbalance. There are some short-term treatments, such as patella taping, dry needling, trigger point therapy, which may help alleviate symptoms quickly and keep you active while you address the other factors contributing to your pain.
If you have any problems with your knees book an appointment online or call us on (02) 4751 9127.
Written by Pat Lincoln
(Director and Physiotherapist at The Physio Depot)